

Blogs and insights
What to Expect During Your Sunroom Installation: A Step-by-Step Overview
📅 Published on
June 12, 2026
The sunroom installation process in Northern Michigan follows a clear sequence from the first site visit through the final walkthrough, and most homeowners find it less disruptive than they expected. A standard three-season or all-season sunroom takes one to four weeks from the start of construction to completion, depending on the type, size, and whether a new foundation is required. This guide walks through every phase of the process so you know exactly what happens, in what order, and what you need to do at each stage before, during, and after installation.
Phase 1: The Initial Consultation and Site Assessment
Every sunroom project starts with an on-site consultation, and the quality of that first visit determines how smoothly everything that follows goes. A thorough site assessment is not a formality. It is the foundation that the entire project schedule, material order, and installation plan is built on.
What Happens During the Consultation
Your installer measures the available footprint, inspects the wall or structure the sunroom will attach to, checks the existing roofline for overhang clearance, and evaluates the ground conditions for foundation planning. You discuss how you plan to use the space, which sunroom type fits your goals and budget, and what materials, glass specifications, and finishes you want. At American Awning and Sunrooms, this visit is free and includes a written quote before you make any commitment. You can schedule your free on-site consultation here to get the process started.
Questions to Answer Before the Consultation
Coming to the consultation with clear answers to a few key questions helps the process move faster and ensures the quote you receive reflects exactly what you want. Know the primary use for the space (dining, lounging, home office, plant room), whether you want three-season or year-round comfort, and whether you have a preference for wall material, flooring, or ceiling style. If you have an HOA, bring any relevant covenants that restrict addition size, color, or materials. If there is an existing deck, porch, or patio slab where the sunroom will be built, note its dimensions and condition.
Reviewing the Quote and Scope of Work
The written quote you receive after the consultation should itemize the sunroom type and size, frame and glass specifications, foundation work if required, electrical scope, any included finishes, permit fees, and the installation timeline. Review each line and ask questions about anything that is not clear before signing. Clarifying scope at this stage prevents misunderstandings mid-project. If you are comparing multiple quotes, use the FAQ page as a reference for questions that are worth asking every contractor you speak with.
Phase 2: Design Decisions and Material Selection
Once the project scope is agreed on and the contract is signed, the next phase is finalizing the design details that determine what gets ordered. These decisions lock in your material lead times and your installation date, so moving through them promptly keeps the project on schedule.
Sunroom Type and Frame Material
If you have not already decided between a three-season and an all-season build, this is the point where the choice becomes binding, because the frame system, glass specification, and electrical scope are all different. For Northern Michigan properties, the key question is whether you want the room to function in winter. An all-season sunroom requires thermally broken frames, insulated glass units with a U-factor of 0.30 or lower, and a connection to your home's HVAC system or a dedicated ductless mini-split. A three-season room uses lighter framing and single or uninsulated double-pane glass. See the full breakdown of options on our sunroom services page.
Glass Selection
Glass selection affects thermal performance, glare, and the character of the light inside the room. Low-emissivity (low-E) coatings reduce heat transfer without significantly reducing visible light, and they are standard on any all-season build we specify. Tinted glass reduces solar heat gain and glare and is worth considering for south or southwest-facing sunrooms that receive intense afternoon sun. Bronze and gray tints are the most common choices. Clear low-E glass is the right call for north-facing rooms where maximizing natural light is the priority.
Flooring, Ceiling, and Finish Selections
Flooring, ceiling material, and interior finish selections are typically made at this stage so materials can be ordered alongside the structural components. Porcelain tile and luxury vinyl plank are the most practical flooring options for Northern Michigan sunrooms because both handle temperature variation without warping. If you are planning radiant in-floor heat, the flooring choice needs to be confirmed before the slab or subfloor is installed, since not all flooring materials are compatible with radiant systems. Ceiling choices include insulated aluminum panel systems, tongue-and-groove wood, and drywall for all-season builds with standard framing.
Phase 3: Permitting
Permitting is the phase that most homeowners have the least visibility into, and it is the one most likely to affect your timeline if it is not handled proactively. Understanding what is required and how the process works in Northern Michigan townships prevents surprises.
What Permits Are Required
Sunroom additions attached to a residence in Michigan require a building permit in almost all jurisdictions. All-season sunrooms that qualify as heated living space also require an electrical permit and, in most cases, a mechanical permit for the HVAC connection. Some townships in Grand Traverse, Leelanau, Benzie, and Antrim counties have specific setback rules that affect placement, and HOA-governed developments may require architectural review board approval before a permit application can be submitted. Your contractor should identify all applicable requirements during the site assessment.
Who Handles the Permit Application
Your contractor should pull all required permits as part of the project scope. This means preparing and submitting the permit application, providing construction drawings or product specifications to the building department, paying permit fees (which are then included in your project cost), and scheduling required inspections. A contractor who asks the homeowner to pull their own permits is either not licensed to do so in your jurisdiction or is trying to avoid the accountability that comes with a contractor-pulled permit. Either way, it is a concern worth flagging.
Permit Timelines in Northern Michigan
Permit review times in Northern Michigan townships typically run from five business days to three weeks, depending on the municipality and their current workload. Traverse City's building department runs closer to the shorter end of that range for straightforward residential additions. Rural townships can take longer. Your installation date cannot be confirmed until permit approval is in hand, which is why starting the permit application promptly after contract signing is important. We handle the full permit process for every project we take on. You can review how we approach project quality and compliance on our warranty page.
Sunroom Installation Timeline by Phase
The table below shows the typical duration of each project phase for the three most common sunroom types. Timelines assume a standard residential site with no unusual access constraints. Permit timelines are listed separately because they run concurrently with design and material ordering, not sequentially.
These ranges represent construction time only, after permits are approved and materials are on site. Total project duration from contract signing to completion typically adds two to four weeks for permitting and material lead times.
Phase 4: Site Preparation and Foundation Work
Site preparation is the first phase of physical construction, and what it involves depends entirely on what is already at your installation location. This phase is where a lot of the variation between projects occurs.
Existing Slab or Porch Foundation
If your sunroom is being built on an existing concrete slab or over a covered porch with a sound floor structure, site prep is minimal. The crew assesses the existing surface for level, checks the structural condition of any existing framing, and confirms the surface can support the added load of the sunroom enclosure. If the slab is in good condition and meets the footprint requirements, construction can begin without any foundation work. This is why building on an existing patio slab or porch is often the fastest and lowest-cost path to a completed sunroom.
New Foundation Requirements
If no suitable foundation exists, new footings or a poured slab are required before framing can begin. In Northern Michigan, frost depth runs 42 to 48 inches, which means footings must be dug to at least that depth to prevent frost heave from shifting the structure over winter. Footing work involves excavation, forming, pouring concrete, and a waiting period of at least 48 to 72 hours before any load is placed on the new concrete. This is the phase that most significantly extends the total project timeline for ground-up builds.
Attachment to the Home
The ledger board or header that attaches the sunroom structure to your home's exterior wall is installed during site prep. This connection point needs to be anchored into the home's structural framing, not just the exterior sheathing or siding. Your installer will locate the rim joist or wall framing, cut back any siding in the attachment zone, install flashing to prevent water infiltration at the joint, and secure the ledger with structural fasteners. Proper flashing at this connection is one of the most important details in the entire build. An improperly flashed ledger connection is the most common source of long-term water damage in sunroom additions. See our completed project gallery for examples of how this detail is handled on finished installations.
Phase 5: Framing and Enclosure
Framing is the most visible construction phase and the one where the sunroom begins to look like a room. It typically moves quickly once it starts, and for most residential builds it is complete within two to six days.
Frame System Installation
The frame system, whether aluminum, thermally broken aluminum, or insulated vinyl, arrives in pre-cut components sized to your specific project dimensions. The crew assembles the wall frames, sets the corner posts, and installs the roof structure or roof panel system. For all-season builds, the roof framing is engineered to meet the local snow load requirements for Northern Michigan, which run 40 to 60 pounds per square foot depending on location. Verifying snow load ratings with your contractor before framing begins is a reasonable precaution.
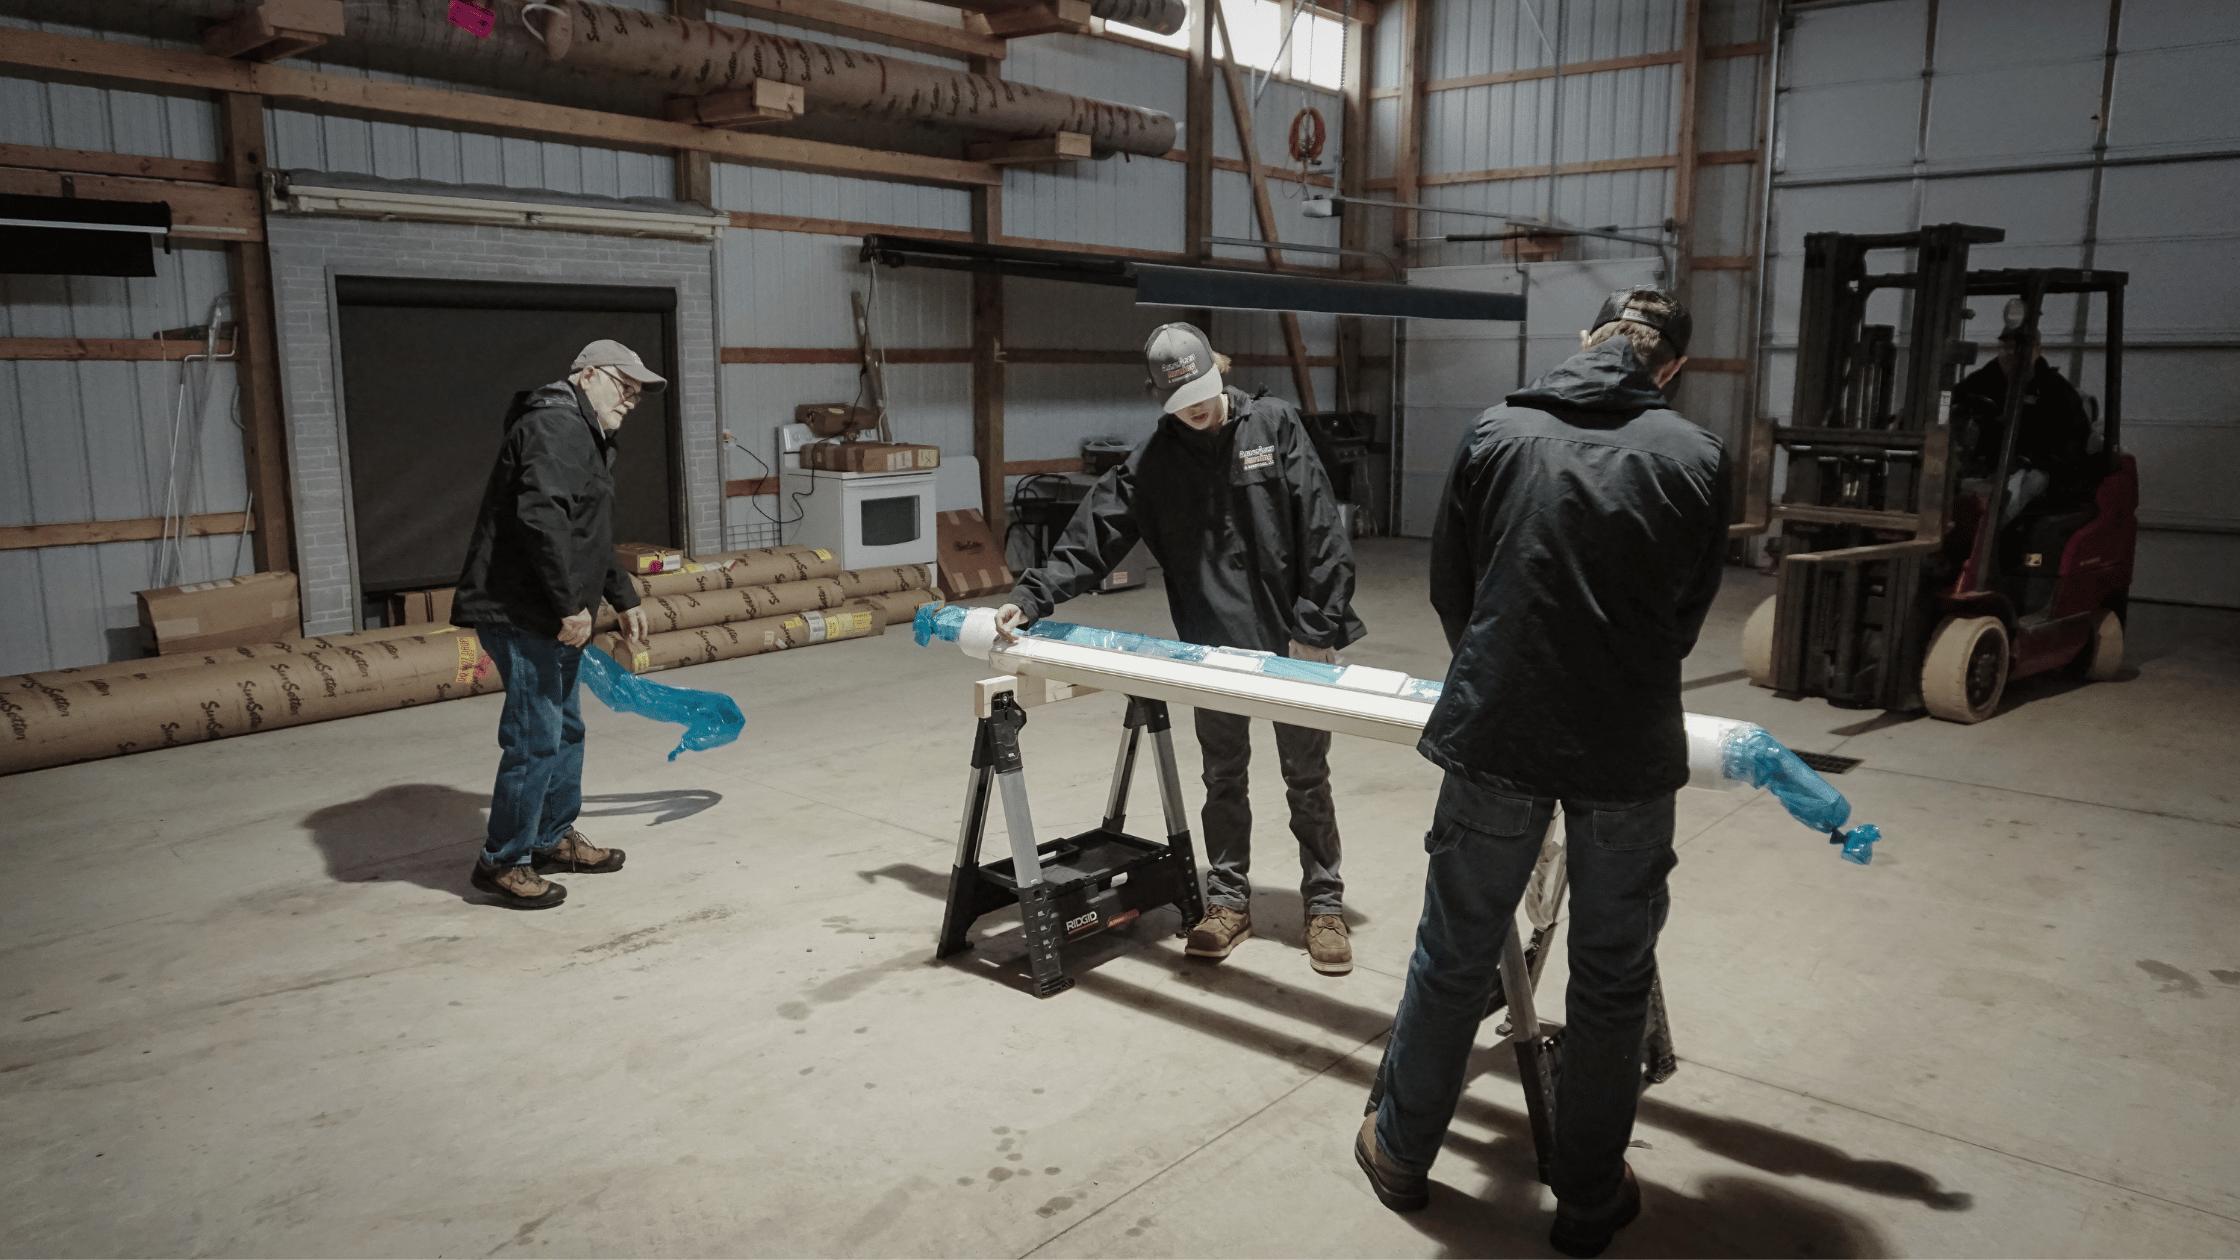
Glass and Panel Installation
Once the frame is set and verified for square and level, the glass panels are installed. Insulated glass units are heavy and require careful handling to avoid edge damage, which can compromise the seal and lead to fogging between the panes over time. Each unit is set with glazing tape or wet seal depending on the frame system's specifications, and the installation crew checks every unit for proper seating before moving to the next. Roof panels, whether glass or insulated polycarbonate, are installed after the wall glass is in place.
Roofline Integration
Where the sunroom roof meets the existing home roofline requires careful flashing and in some cases step flashing to direct water away from the joint. This transition is the second most common source of long-term water problems in sunroom additions, after the ledger board connection. The flashing work at the roofline is inspected at the building department's framing inspection before any interior finishes are applied. If your project requires a custom roofline integration with complex angles or multiple roof planes, this phase takes longer and requires more precision work than a standard shed-roof sunroom configuration.
Phase 6: Electrical, HVAC, and Rough-In Work
For all-season sunrooms, the mechanical rough-in phase follows framing and precedes finishes. This phase coordinates multiple trades and requires inspections before walls are closed in. Three-season sunrooms typically require only basic electrical work. Here is what is typically included in the rough-in phase for an all-season build.
- Electrical rough-in: circuits for lighting, outlets, and the HVAC unit are run before insulation and ceiling panels are installed. Outdoor-rated outlets and weatherproof boxes are required for any electrical work exposed to temperature fluctuation or moisture.
- HVAC connection or mini-split installation: for forced-air extension, a new duct run connects the sunroom register to the existing system and the system capacity is verified for the added square footage. For ductless mini-split systems, the line set is run between the outdoor compressor and the indoor head unit, refrigerant is charged, and the system is tested for heating and cooling function.
- In-floor radiant heat rough-in (if selected): hydronic tubing or electric mat elements are installed over the subfloor before the finish flooring goes down. The system is pressure-tested before flooring is applied.
- Rough-in inspections: electrical and mechanical inspections are scheduled and completed before any walls or ceilings are closed in. These inspections verify that the work meets code and catches any installation errors before they are hidden behind finishes.
Phase 7: Insulation, Finishes, and Flooring
Once rough-in inspections are passed and signed off, the finish phase begins. This is when the sunroom transitions from a construction site to a room.
Insulation
For all-season builds, knee walls and any opaque ceiling panels receive insulation before finishes are applied. The insulation specification is determined by the energy code requirements for your jurisdiction and the thermal performance targets for the build. Spray foam is commonly used at the ledger board and rim joist connections for its combination of air sealing and insulation value. Batt insulation is typical in knee wall cavities. Insulated panel systems that combine the structural, insulation, and finish functions in a single panel are available as an alternative to conventional framing and insulation, and they are worth considering for projects where installation speed is a priority.
Interior Finishes
Interior finish work includes ceiling panel or drywall installation, trim and casing at windows and doors, painting or staining of any wood components, and installation of light fixtures and outlet covers. For sunrooms with wood tongue-and-groove ceilings, the installation of the ceiling is one of the most time-consuming finish tasks and the one that has the most impact on the character of the finished space. Allow extra time in the schedule if a wood ceiling is part of your design.
Flooring Installation
Flooring is installed last among the major finish trades, after painting and ceiling work are complete, to avoid damage from foot traffic and drips. Porcelain tile requires a properly prepared subfloor, thin-set adhesive, a setting time of 24 hours before grouting, and grout cure time before heavy use. Luxury vinyl plank installs faster and can typically be walked on immediately. If you want to see how different flooring types look in completed Northern Michigan sunrooms, the project gallery includes photos of finished installations with a range of flooring choices.
Phase 8: Inspections, Punch List, and Final Walkthrough
The final phase covers everything that happens between construction completion and the moment the space is yours to use. This phase is shorter than most homeowners expect, but it matters.
Final Building Inspection
The building department conducts a final inspection to verify that the completed installation matches the permitted plans and that all required inspections during construction were passed. The inspector checks framing, glazing, electrical, and mechanical systems and either issues a certificate of occupancy or generates a punch list of items that need to be corrected before the permit can be closed out. Most projects pass final inspection without any corrections required when the work has been done by a licensed contractor following the approved plans.
The Punch List
A punch list is the set of small items identified either at the building inspection or during the contractor's own final walkthrough that need to be addressed before the project is considered complete. Typical punch list items include caulk touch-ups at trim joints, hardware adjustments on door and window hardware, paint touch-ups, and cleaning of glass panels. Most punch lists are resolved in a single half-day visit. A contractor who completes the punch list promptly without requiring the homeowner to follow up repeatedly is demonstrating the kind of professionalism that shows up in their reviews.
Your Final Walkthrough
The final walkthrough is your opportunity to inspect every element of the completed installation with your project lead present. Walk the perimeter of the exterior and check flashing, caulk joints, and the transition at the roofline. Inside, check every operable window and door for smooth operation, test all electrical outlets and fixtures, run the HVAC system through a heating and cooling cycle, and verify that the flooring is clean and undamaged. Confirm that you have received all warranty documentation for the frame, glass, and any mechanical systems. Read through our warranty coverage details so you know exactly what is covered and for how long before the crew leaves.
How to Prepare Your Home for Sunroom Installation
Most of the preparation work is done by the installer, not the homeowner. But a few things on your end will keep the project on schedule and avoid unnecessary delays on the first day of construction.
- Clear the construction zone: remove outdoor furniture, planters, grills, and any stored items from the area where the sunroom will be built and from the adjacent path the crew will use to move materials. A 10-foot clear perimeter around the installation footprint is a reasonable target.
- Protect interior access points: the crew will need access to the interior of your home at the wall where the sunroom attaches. Clear any furniture, artwork, or stored items within four feet of that wall on the interior.
- Identify utility locations: know where your exterior electrical panel is, and confirm with your contractor whether any underground utilities need to be located before excavation. Call 811 (MISS DIG in Michigan) before any digging begins. Your contractor should initiate this, but confirming it happened is your backup.
- Arrange access for the permit inspection: the building inspector will visit during construction for at least one and possibly two or three inspections. Your contractor manages the scheduling, but you may need to be available or provide access if you are not on-site during construction.
- Plan for noise and limited outdoor access: construction is noisy, and the patio or yard area adjacent to the work zone will not be usable during active construction phases. Plan around this if you have young children, pets, or a home office near the construction area.
Frequently Asked Questions
How long does sunroom installation take in Northern Michigan?
Construction time runs from three to seven days for a three-season room on an existing foundation, seven to fourteen days for an all-season sunroom, and two to five weeks for a custom build. Total project duration from contract signing to completion is typically four to eight weeks, with the additional time accounting for permitting, material ordering, and any foundation work required before framing can begin.
Do I need to be home during sunroom installation?
You do not need to be on-site every day during construction, but you should be available on the first day for the crew to confirm site details and on the final walkthrough day. You will also need to coordinate access for building inspections, which are scheduled by your contractor during construction. If you will be away for extended periods during the project, confirm a communication plan with your project manager so decisions that require your input do not stall the schedule.
What is the difference between a three-season and an all-season sunroom installation?
The installation process for both types follows the same sequence, but all-season builds involve more steps and more trades. All-season sunrooms require insulated glass, thermally broken or insulated vinyl frames, knee wall insulation, electrical rough-in, and a connection to your home's heating and cooling system. These additions mean more inspections, longer material lead times, and a longer total construction timeline. Three-season builds skip the thermal envelope work and the HVAC connection, which reduces cost and shortens the schedule by three to seven days depending on project size.
What happens if it rains during installation?
Rain delays are most likely during the foundation and framing phases, when wet conditions can slow excavation and concrete work. Once the roof framing and glass are in place, the construction is weathered in and interior finish work can continue regardless of exterior conditions. Your contractor should have a protocol for rain delays built into the project schedule, with buffer days that account for Northern Michigan's variable spring and summer weather. Confirm this when you review the project timeline.
Will my sunroom installation require a building permit?
Yes, in almost all Michigan jurisdictions. Any addition that encloses habitable space attached to a residence requires a building permit. All-season sunrooms additionally require electrical and mechanical permits. Your contractor should pull all required permits as part of the project scope. Unpermitted additions create complications at resale, void manufacturer warranties, and leave you without the protection of a building inspection to catch installation errors.
How much does sunroom installation cost in Northern Michigan?
Installed costs range from approximately $15,000 for a basic three-season room on an existing foundation to $120,000 or more for a fully custom all-season sunroom with premium materials, a new foundation, and custom finishes. The primary cost drivers are sunroom type, square footage, glass specification, foundation requirements, and interior finishes. The best way to get an accurate number is an on-site assessment. Schedule your free consultation to get a written quote with full itemization for your specific project.
Can an existing deck be converted into a sunroom?
Yes, if the deck is structurally sound and the footings are adequate to support the load of an enclosed structure. The installer evaluates the deck framing, checks the footing depth against frost requirements, and determines whether any structural reinforcement is needed before the enclosure is built. Converting an existing deck or screened-in porch is often the fastest and most cost-efficient path to a sunroom, since the structural foundation work is already partially done.
Knowing the Process Makes the Project Easier
Sunroom installations involve more moving parts than most home improvement projects, but they follow a predictable sequence that your contractor should be able to walk you through before the first drill runs. Homeowners who understand the phases, know what to expect at each step, and have a contractor who communicates clearly tend to have the smoothest projects, regardless of what complications the site might present along the way.
If you are considering a sunroom addition in Traverse City or anywhere in Northern Michigan, the right starting point is a conversation with a contractor who has done this work in this climate. American Awning and Sunrooms builds custom sunrooms, screened-in porches, pergolas, and outdoor shade solutions across Northern Michigan, and every project starts with a free on-site assessment and a written quote. Book your consultation online or call us directly to get on the schedule for this season.


.svg)